Serverless
Chocolate, Durable Entities, and Seasons of Serverless
January 4, 2021
Bienvenue en France for this week's Seasons of Serverless challenge.
In this article, I'll cover my solution to Challenge 6: The Magic Chocolate Box!
Table of Contents
Prerequisites
1. Challenge outline
2. My solution
3. Check the results
4. Test it yourself!
5. More resources
Prerequisites
- Visual Studio Code
- Azure Functions Extension Installed
- An Azure account
1. Challenge outline
In this challenge, our goal is to develop a solution that would allow family members to reserve their favorite chocolates from a chocolate box. We need to be able to see a list of available chocolates and update the list when reservations are made.
We will use Durable Entities for our solution.
2. My solution
My solution calls for three parts: one Durable Entity and two Azure Functions.
I used JavaScript for my solution but there are lots of different languages you can use.
The Durable Entity: Chocolate
When creating my Durable Entity in Visual Studio, I selected the Durable Functions activity and named the function Chocolate.
This will create two files: function.json and index.js.
In the function.json file, I adjusted the type from activityTrigger to entityTrigger:
// Chocolate/function.json

{
  "bindings": [
    {
      "name": "context",
      "type": "entityTrigger",
      "direction": "in"
    }
  ]
}
In the index.js file, I added the following code:
// Chocolate/index.js

const df = require("durable-functions");

const ChocolateBox = [
    "Dark Sea Salt Caramel",
    "Milk Sea Salt Caramel",
    "Apple Cider Caramel",
    "Almond Butter Crunch",
    "Cherry Cordial",
    "Coconut Delight",
    "Dipped Pineapple",
    "Dipped Apricot",
    "Dipped Orange Peel",
    "Espresso Shot",
    "Peanut Butter Chocolate",
    "Raspberry Vienna",
    "Almond Caramel Cluster",
    "Macadamia Caramel Cluster",
    "Pecan Caramel Cluster",
    "Pretzel Caramel Cluster"
];

let Chocolates = {
    available: ChocolateBox,
    reserved: {}
};

module.exports = df.entity(function(context) {
    const currentValue = context.df.getState(() => 0);
    switch (context.df.operationName) {
        case "add":
            const {name, item} = context.df.getInput();
            if(currentValue.available.includes(item)) {
                currentValue.available.splice(currentValue.available.indexOf(item), 1);
                if (currentValue.reserved[name]) {
                    currentValue.reserved[name].push(item);
                } else {
                    currentValue.reserved[name] = [ item ];
                }
            }
            context.df.setState(currentValue);
            break;
        case "reset":
            context.df.setState(Chocolates);
            break;
        case "get":
            context.df.return(currentValue);
            break;
    }
});
This code can be logically divided into three parts:
- A ChocolateBox which contains an array of chocolates. You can adjust it to reflect your personal chocolate box.
- A Chocolates object which lists the available chocolates and will update to show which chocolates are reserved.
- An aggregator (stateful entity) to either add, get, or reset the chocolate box.
Azure Function #1: GetReservations
This function will get a list of the available chocolates and reservations made. When creating my first Azure Function in Visual Studio, I selected the HTTP trigger, named the function GetReservations, snd gave it an Anonymous authorization level.
This will create two files: function.json and index.js.
In the function.json file, I adjusted the code to this:
// GetReservations/function.json

{
  "bindings": [
    {
      "authLevel": "anonymous",
      "type": "httpTrigger",
      "direction": "in",
      "name": "req",
      "methods": [
        "get"
      ]
    },
    {
      "type": "http",
      "direction": "out",
      "name": "res"
    },
    {
      "name": "chocolates",
      "type": "durableClient",
      "direction": "in"
    }
  ]
}
In the index.js file, I added the following code:
// GetReservations/index.js

const df = require("durable-functions");

module.exports = async function (context) {
    const client = df.getClient(context);
    const entityId = new df.EntityId("Chocolate", "myChocolate");
    const stateResponse = await client.readEntityState(entityId);

    context.res = {
        // status: 200, /* Defaults to 200 */
        body: stateResponse.entityState
    };
};
Azure Function #2: ReserveChocolate
This function will allow us to reserve chocolates by listing a name and chocolate type. When creating my second Azure Function in Visual Studio, I selected the HTTP trigger, named the function ReserveChocolate, snd gave it an Anonymous authorization level.
This will create two files: function.json and index.js.
In the function.json file, I adjusted the code to this:
// ReserveChocolate/function.json

{
  "bindings": [
    {
      "authLevel": "anonymous",
      "type": "httpTrigger",
      "direction": "in",
      "name": "req",
      "methods": [
        "get",
        "post",
        "delete"
      ]
    },
    {
      "type": "http",
      "direction": "out",
      "name": "res"
    },
    {
      "name": "chocolates",
      "type": "durableClient",
      "direction": "in"
    }
  ]
}
In the index.js file, I added the following code:
// ReserveChocolate/index.js
const df = require("durable-functions");
module.exports = async function (context, req) {
try {
const name = (req.query.name || (req.body && req.body.name));
const item = (req.query.item || (req.body && req.body.item));
const reset = (req.query.reset || (req.body && req.body.reset));
const client = df.getClient(context);
const entityId = new df.EntityId("Chocolate", "myChocolate");
let responseMessage = "";
if (req.method === "DELETE" || reset) {
await client.signalEntity(entityId, "reset")
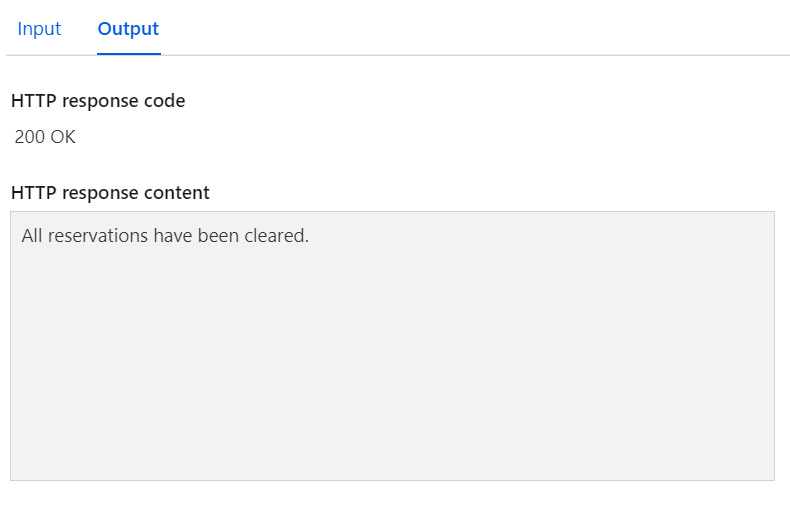
responseMessage = "All reservations have been cleared.";
} else {
if (!name || !item) {
context.res = {
status: 400,
body: "name and item parameters are required"
};
return;
}
await client.signalEntity(entityId, "add", {name, item});
responseMessage = "Updated reservations";
}
context.res = {
// status: 200, /* Defaults to 200 */
body: responseMessage
};
} catch (error) {
context.res = {
status: 500,
body: { message:"error", error }
};
}
};
This code accepts three values: a name, an item, and a reset.
When someone types in a name this will be the person reserving chocolate. When someone types in an item, this will be the name of the chocolate they wish to reserve.
Finally, if someone sets reset to True, the chocolate box is reset and all reservations are erased.
3. Check the results
My solution follows three steps:
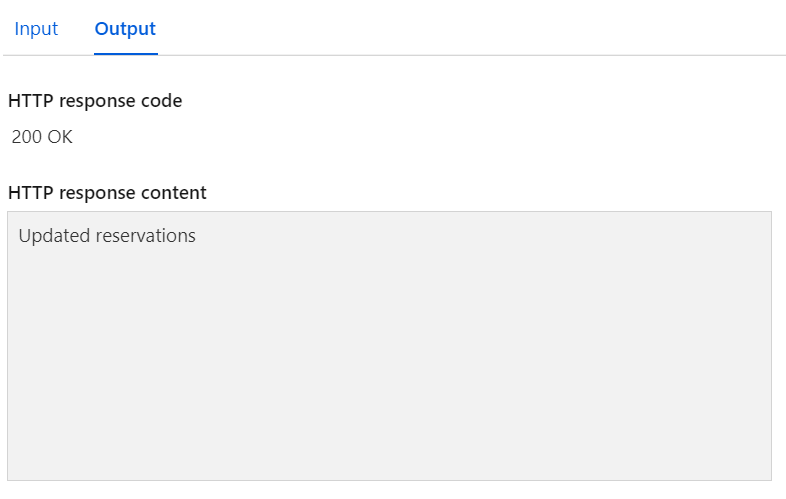
Step 1: Make a reservation with ReserveChocolate
Input
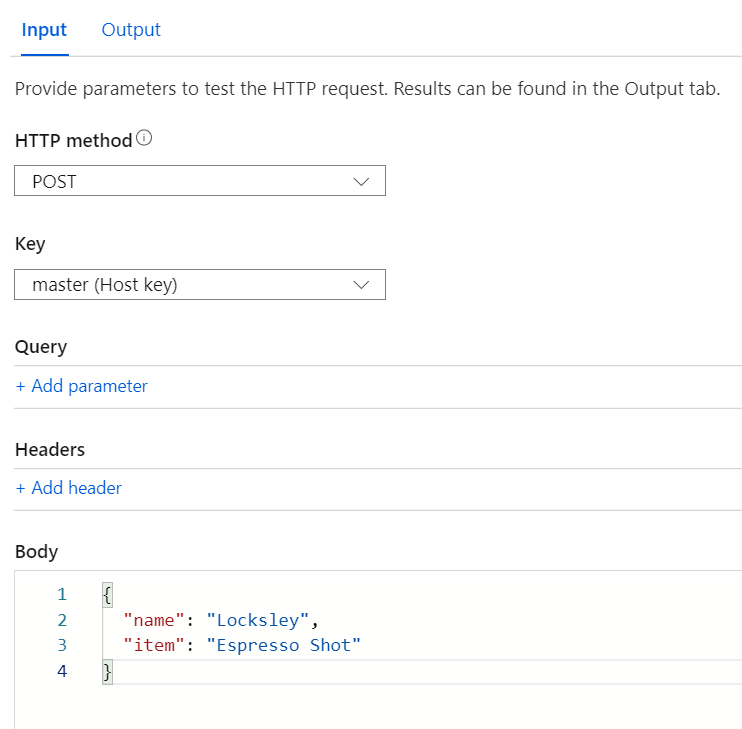
Output
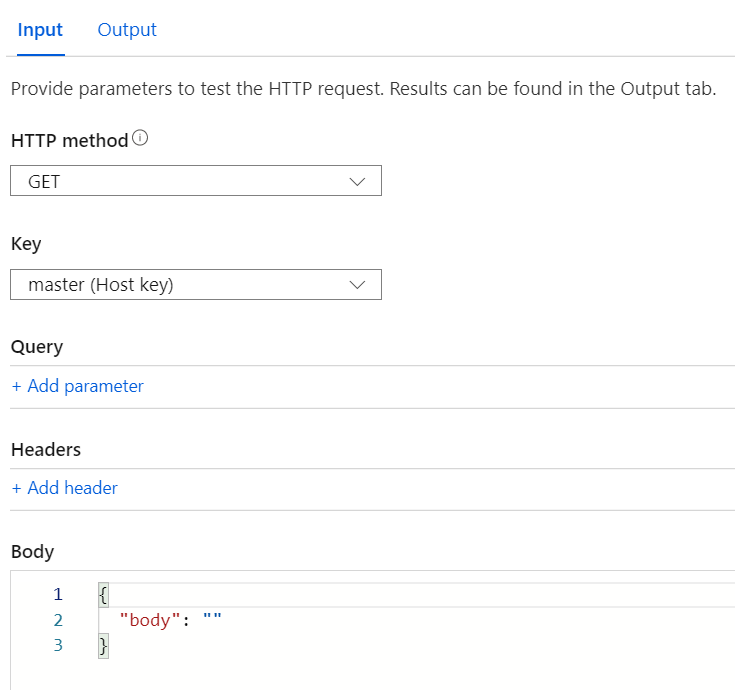
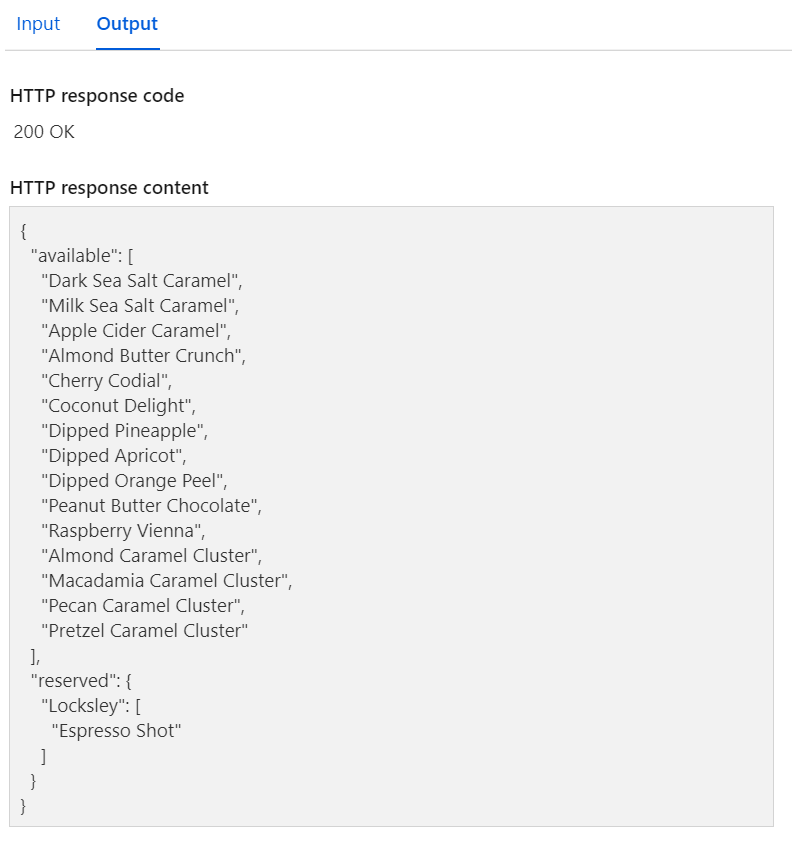
Step 2: See updated chocolates and reservations with GetReservations
Input
Output
Step 3: Clear all reservations with ReserveChocolate
Input
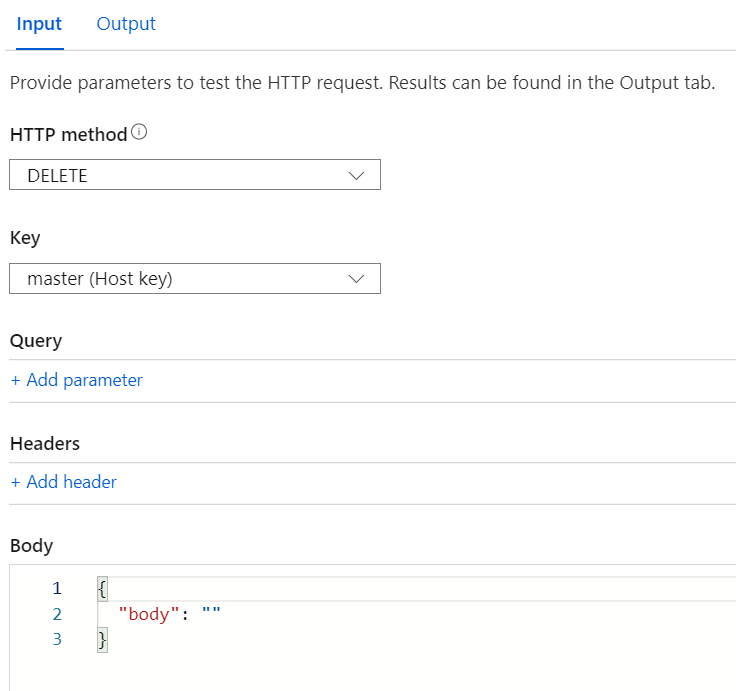
Output
4. Test it yourself!
You can test it out with the following links. I currently have it assigning an Espresso Shot Chocolate to myself, but you can edit the URL to assign chocolates to more people:
5. More resources
- Join this week's Seasons of Serverless challenge
- Learn more about Azure Functions on Microsoft Learn
- Check out my solution to Challenge 5