Custom Vision
Set up your first Custom Vision project
November 23, 2020
Custom Vision is an awesome tool from Azure. In this article, we're going to cover what it is, how it works, and how you can start using it.
Table of contents
Prerequisites
1. Get set up
2. Collect and label data
3. Train data
4. Test model
5. More resources
Prerequisites
- An Azure Account
1. Get set up
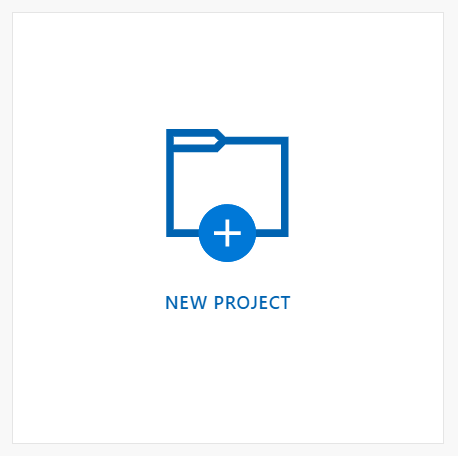
Go to customvision.ai and sign in. This will take you to Custom Vision's landing page. Select new project.
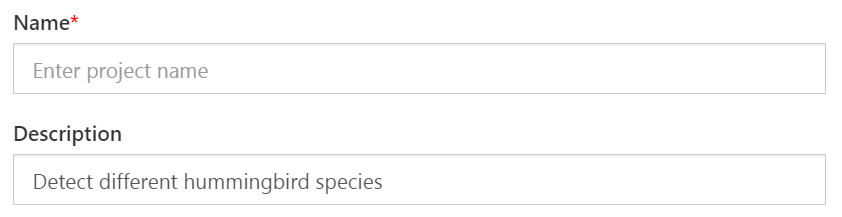
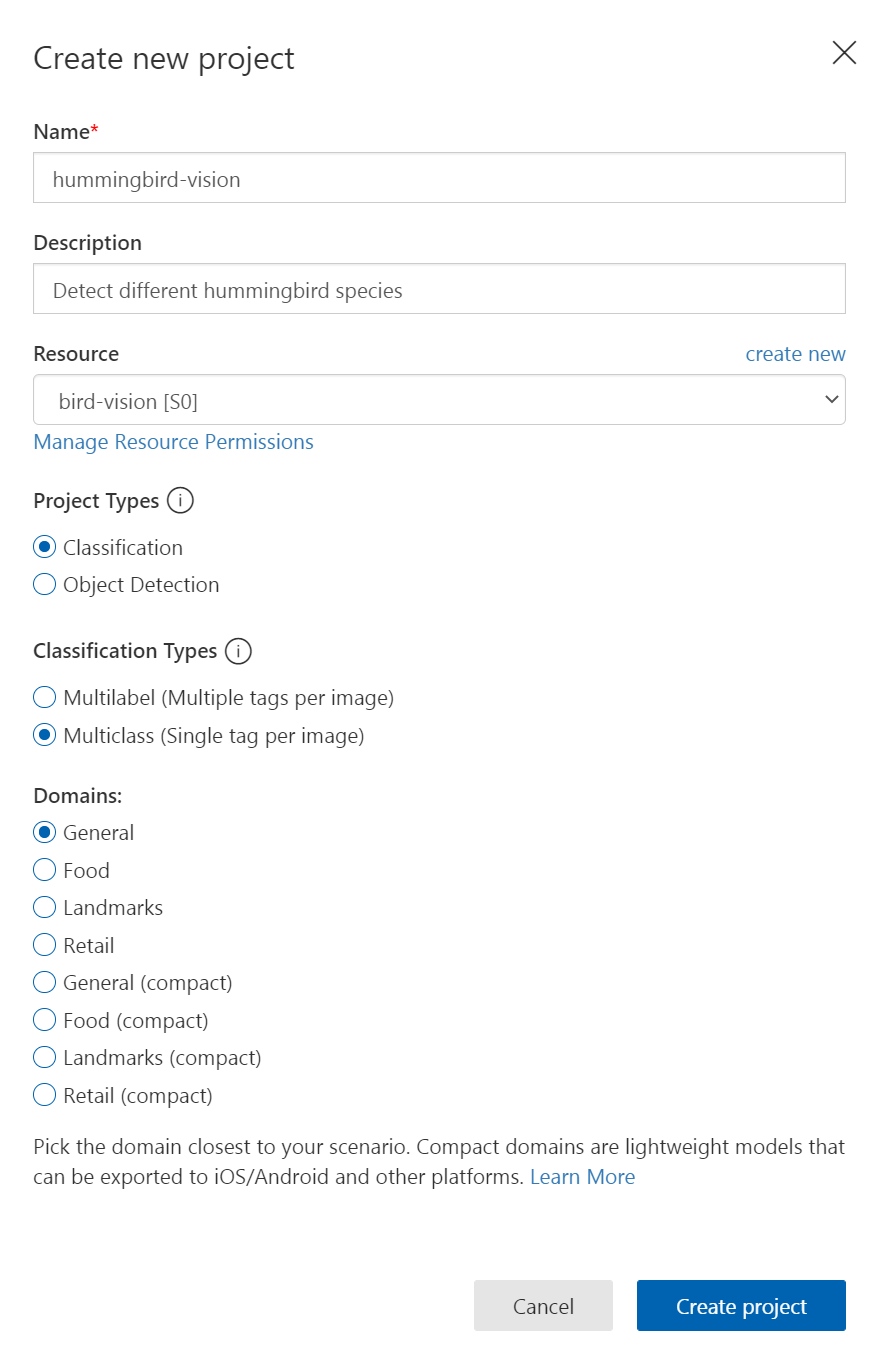
To create a new project, we will enter a name and project description. My project is going to be a model that can detect different Washington State hummingbird species. You can use this idea or something else you find interesting. The name I have chosen is hummingbird-vision and the description will be Detect different hummingbird species.
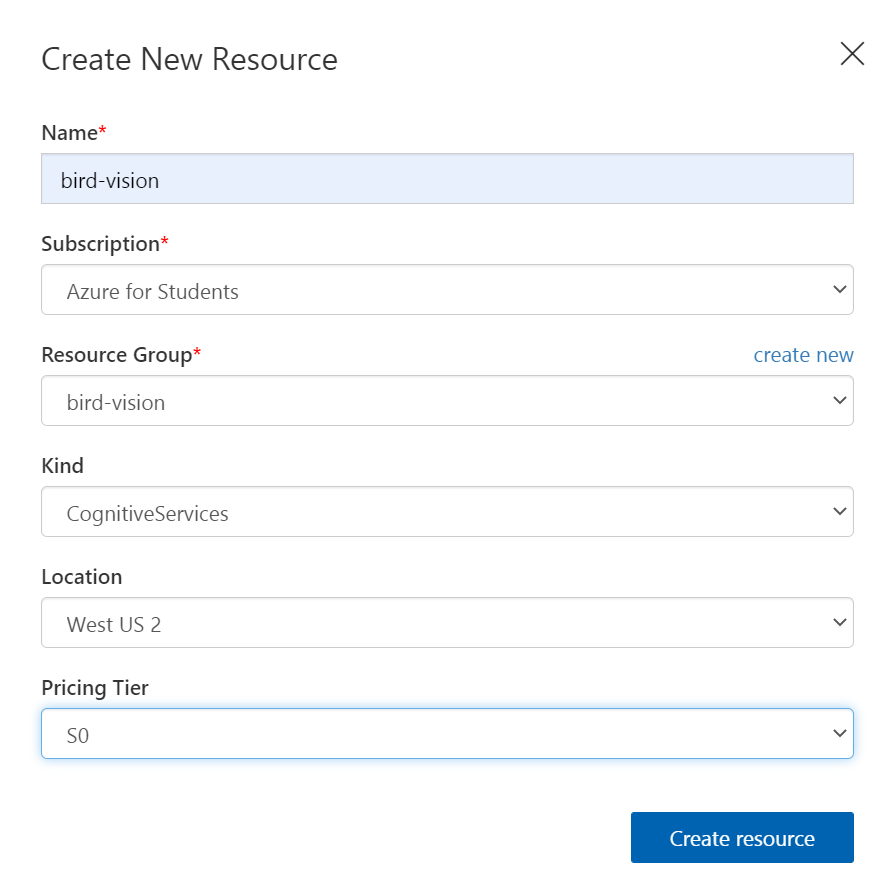
If you already have a resource created, select that. If you don't, click the create new button. Give your resource a name and select an Azure Subscription.
To select a Resource Group, select create new again. Give your resource a name and choose a Server location. I live in the Seattle area so I chose the location closest to me: West US 2.
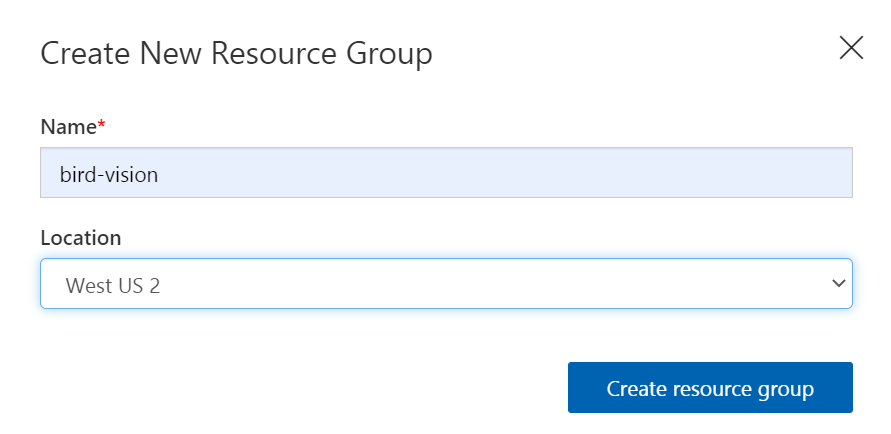
Click Create resource group. Now, we need to choose a Kind, Location, and Pricing Tier. I chose Cognitive Services, the West US 2 location, and the S0 which is the automatic version you can select with an Azure for Students Subscription.
Once your Create New Resource pop-up looks similar to this, click the Create Resource button.
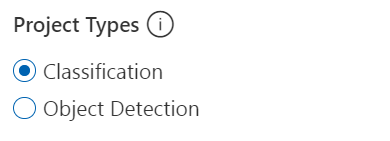
Now, we're back to the first pop up. Custom Vision allows you to create two different types of projects. Either classification or object detection.
Classification tags a whole image.
Object Detection detects specific objects within an image.
For my project, I need to be detecting whole images so I will be using the Classification Project Type.
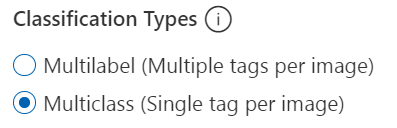
In addition to selecting different Project Types, you can also choose a unique Classification Type. Either Multilabel of Multiclass.
Multilabel allows you to have multiple tags per image.
Multiclass allows only one tag per image.
For my project, I need to be detecting one bird per image so I will be using the Multiclass Classification Type.
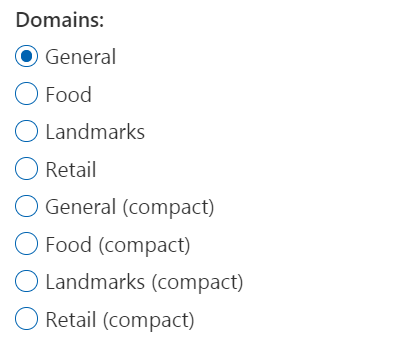
Next up is selecting different domains. There are some common domains that you can specifically train for. Washington State hummingbirds do not fall into any of the provided categories so I'll be using the General domain.
Once your Create new project page looks like this, click create project.
2. Collect and label data
This is the most time-consuming part of Custom Vision. You need to find 20 or more images of each label. For my model, I'll have four different tags for Anna's, Black-chinned, Calliope, and Rufous Hummingbirds. If you are following along with my demo, check out my GitHub where I have already saved at least 20 versions of each photo.
We need to transfer these photos into Custom Vision. Normally, I download all of the photos to my local drive.
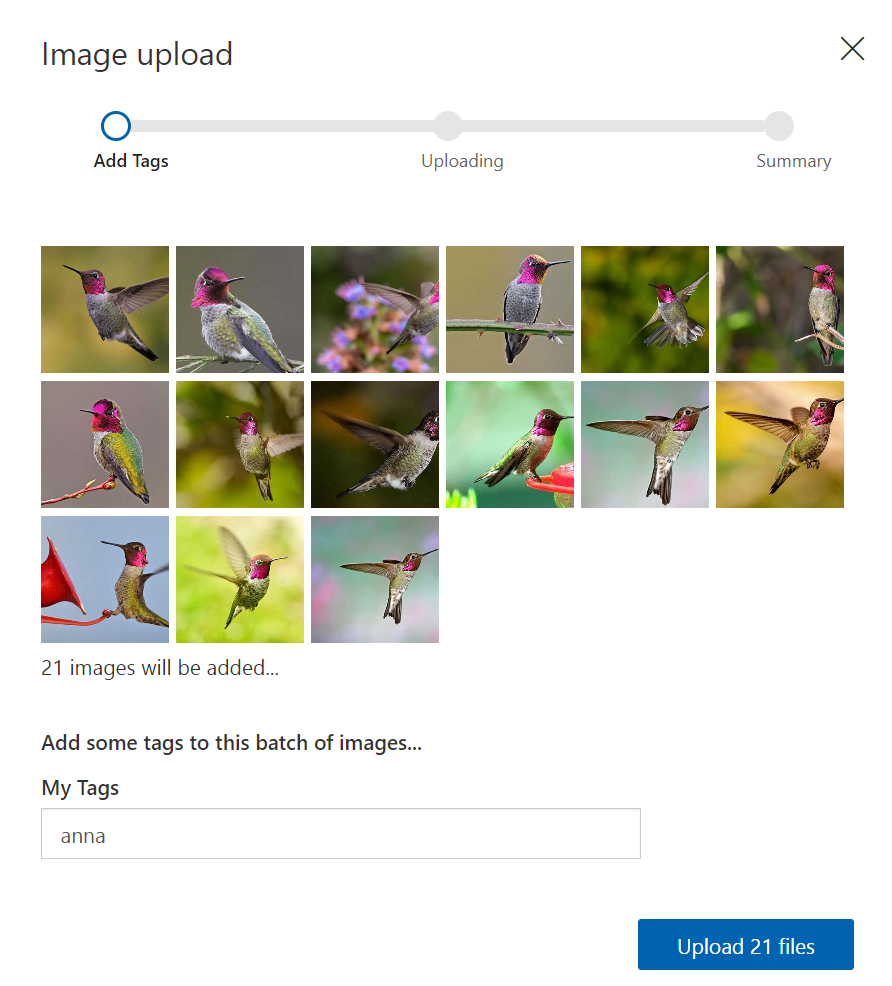
After that, you can select the photos and input them into Custom Vision. First, select add images, navigate to the folder where your images are stored, and import them into Custom Vision. I recommend importing all of your images with the same tag at once.
After you import your images, there will be a pop-up in Custom Vision for you to tag the batch of images. In my image, you can see that I tagged all of my Anna's Hummingbird images with the tag anna. Repeat this step for all your images and tags.
3. Train data
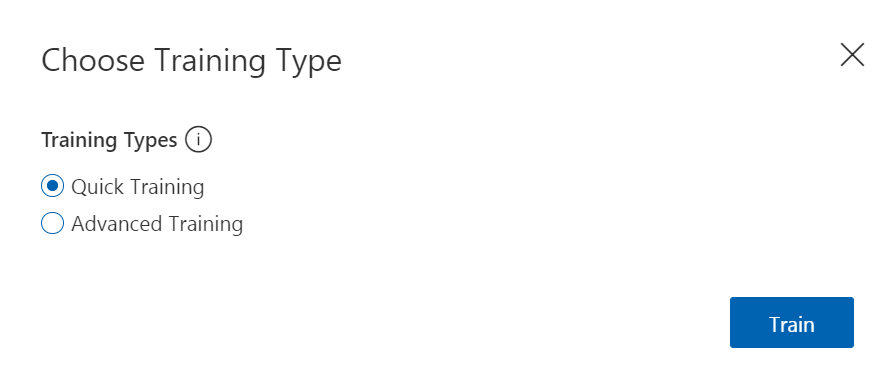
After all of your images have a tag, we can train the data. In the top-right corner of Custom Vision, click the green Train button.
Custom Vision provides two training options: Quick Training and Advanced Training.
Quick Training is a good and faster option for less common datasets.
Advanced Training is better for highly complex and large collections of data. It will take longer to run.
For my demo, I am choosing the Quick Training option. Once you have selected a training type, click Train.
Training my hummingbird dataset took approximately 5 minutes. A cool feature about Custom Vision is you can iteratively train your model. That means that you can add more photos later to increase its accuracy.
4. Test model
After Custom Vision is completed training, this chart will appear displaying the Precision, Recall, and AP of your model.

The Precision graph represents how likely your model is to be correct when it detects a tag.
The Recall graph represents the percentage of correct tags your model predicted.
Finally, the AP graph represents your model's combined precision and recall at different probability thresholds.
I always aim to be above 90% in all three categories. If I am not, I will add more images to further train within Custom Vision.
If you have hit the 90% threshold (and even if you haven't), we can try a Quick Test. At the top right corner of the screen, right next to the Train button, you will see a Quick Test button.
When you click Quick Test, it will open into a popup. Here, you can test your model for accuracy. You can either input an image URL or browse your local files.
I uploaded a leftover photo from my Anna's Hummingbird collection which had a 99.9% certainty that it was an Anna's Hummingbird.
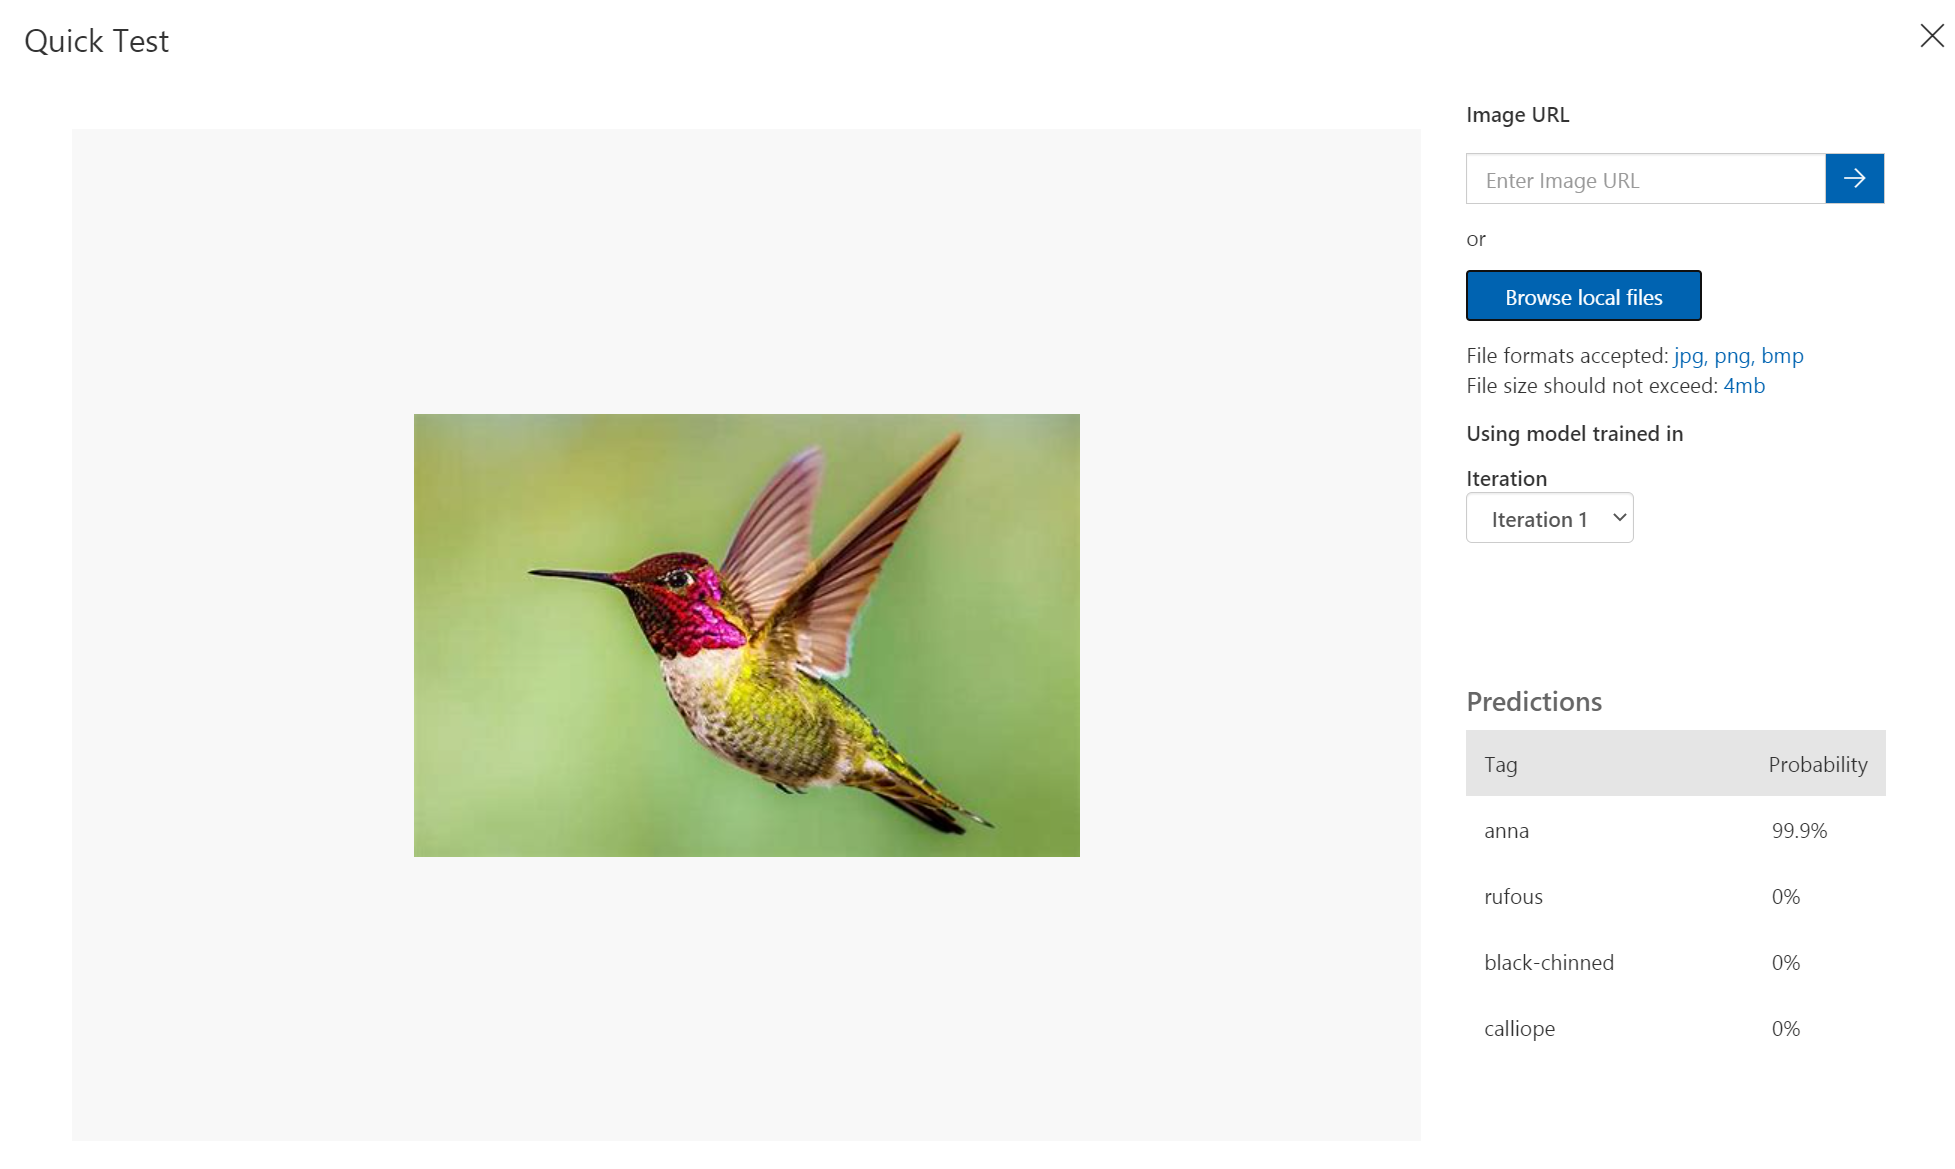
Make sure that you test all of your tags for accuracy. It is common to have one tag be less accurate than the others.
Congratulations! You now have a Custom Vision model! At this point, this can be connected to a website or app and be shipped to real customers! We'll cover how to do that in a future article. In the meantime, check out the resources below to learn more.
5. More resources
- Check out my demo of me using Custom Vision at the Granite State Code Camp!
- Review Microsoft's Custom Vision Documentation
- Want to learn more about AI and Azure? Try the Azure AI Fundamentals learning path on Microsoft Learn